This comprehensive guide outlines the process for migrating websites, content, and customer data from Squarespace to HighLevel. The objective is to ensure a smooth transition while maximizing the capabilities of HighLevel’s CRM, marketing automation, and website-building tools.
TABLE OF CONTENTS
- Preparation for Migration
- Migrate Website Content
- Rebuilding and Enhancing Functionality
- Testing and Validation
- Team Training and Transition
- Decommissioning Squarespace
Preparation for Migration
Step 1: Review Current Squarespace Setup
- Catalog Existing Content: Inventory all content on your Squarespace site, including pages, blog posts, images, videos, products, and forms.
- Analyze Functionalities: Identify which Squarespace features are actively used (e.g., e-commerce, scheduling, SEO settings) and plan their equivalents in HighLevel.
Step 2: Define Migration Objectives
- Set Clear Goals: Establish why you are migrating to HighLevel, such as improved marketing automation, advanced CRM capabilities, or unified customer management.
- Prioritize Features: Identify the critical features that need to be replicated or improved upon in HighLevel, such as website functionality, email campaigns, and customer segmentation.
Step 3: Backup and Export Data
- Export Content from Squarespace: Utilize Squarespace’s export functions to save all relevant data, including website content, pages, posts, and images.
- E-commerce Data: Product details, orders, and customer information.
- Contacts and Subscribers: Export contact lists and email subscribers.
- Backup Documentation: Store all exported files securely to prevent data loss during migration.

Migrate Website Content
Step 1: Export and Import Website Content
- Export Website Data from Squarespace: Navigate to the Squarespace backend and use the export tool to download site content.
- Recreate Website in HighLevel: Use HighLevel’s website builder to create a new site, importing and uploading your content. Utilize drag-and-drop functionality to place text, images, and videos according to your desired layout.
- Templates: Choose or customize a template that closely matches your Squarespace design.
- Content Blocks: Recreate pages and blog posts using HighLevel’s content blocks, including text, images, and embedded videos. Support doc: Link
Step 2: Rebuild E-commerce Setup
- Export Product and Order Data from Squarespace: Use the export function to download product catalogs and order history in CSV format.
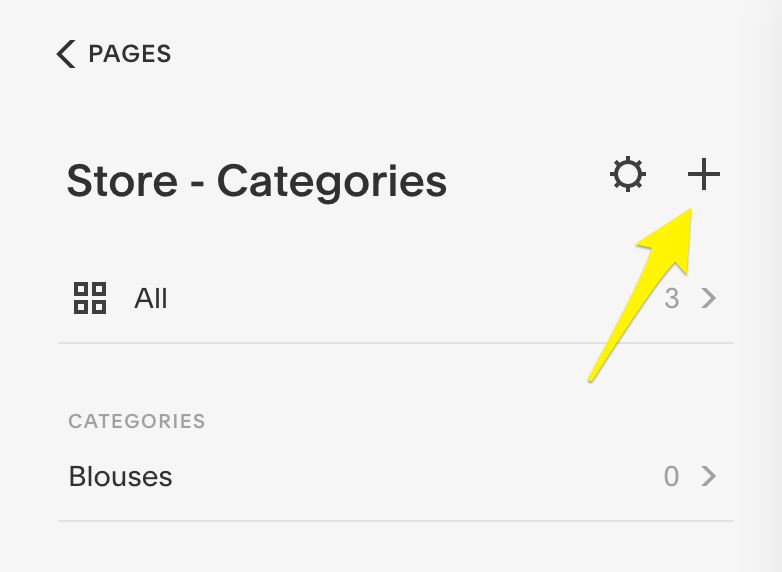
- Set Up E-commerce in HighLevel: Navigate to HighLevel’s E-commerce section and manually input or import your product data, including images, descriptions, and pricing.
Click here to learn more about setting up an e-commerce store in HighLevel. - Payment Integration: Connect payment gateways such as Stripe or PayPal, similar to what was used on Squarespace.
- Shipping and Tax Settings: Configure shipping options and tax calculations based on your previous Squarespace setup.
Step 3: Import Contacts and Subscriber Lists
- Export Contacts from Squarespace: Use the Contacts panel in Squarespace to export all contacts and subscribers into a CSV file.
- Import Contacts into HighLevel: Go to Contacts > Import Contacts in HighLevel and upload your CSV file. Ensure fields such as names, emails, and tags are correctly mapped during the import.
Click here to learn more about bulk importing contacts using a CSV file.
Rebuilding and Enhancing Functionality
Step 1: Website Design and Customization
- Recreate Pages: In HighLevel, rebuild each page by adding the necessary sections, content blocks, and forms. Use HighLevel’s design options to customize the look and feel, ensuring it matches or improves upon the original Squarespace design.
- SEO Optimization: Add SEO metadata, including page titles and descriptions, from Squarespace to HighLevel. Utilize HighLevel’s SEO tools to optimize content for search engines.
Step 2: Rebuild and Automate Email Campaigns
- Export Email Campaign Data from Squarespace: Download any templates, lists, and campaign reports available in Squarespace.
- Create Email Campaigns in HighLevel: In HighLevel, navigate to Marketing > Email Campaigns and create new email campaigns. Upload templates and set up automated workflows, including email triggers and follow-ups.
Step 3: Set Up Scheduling and Calendar Integration
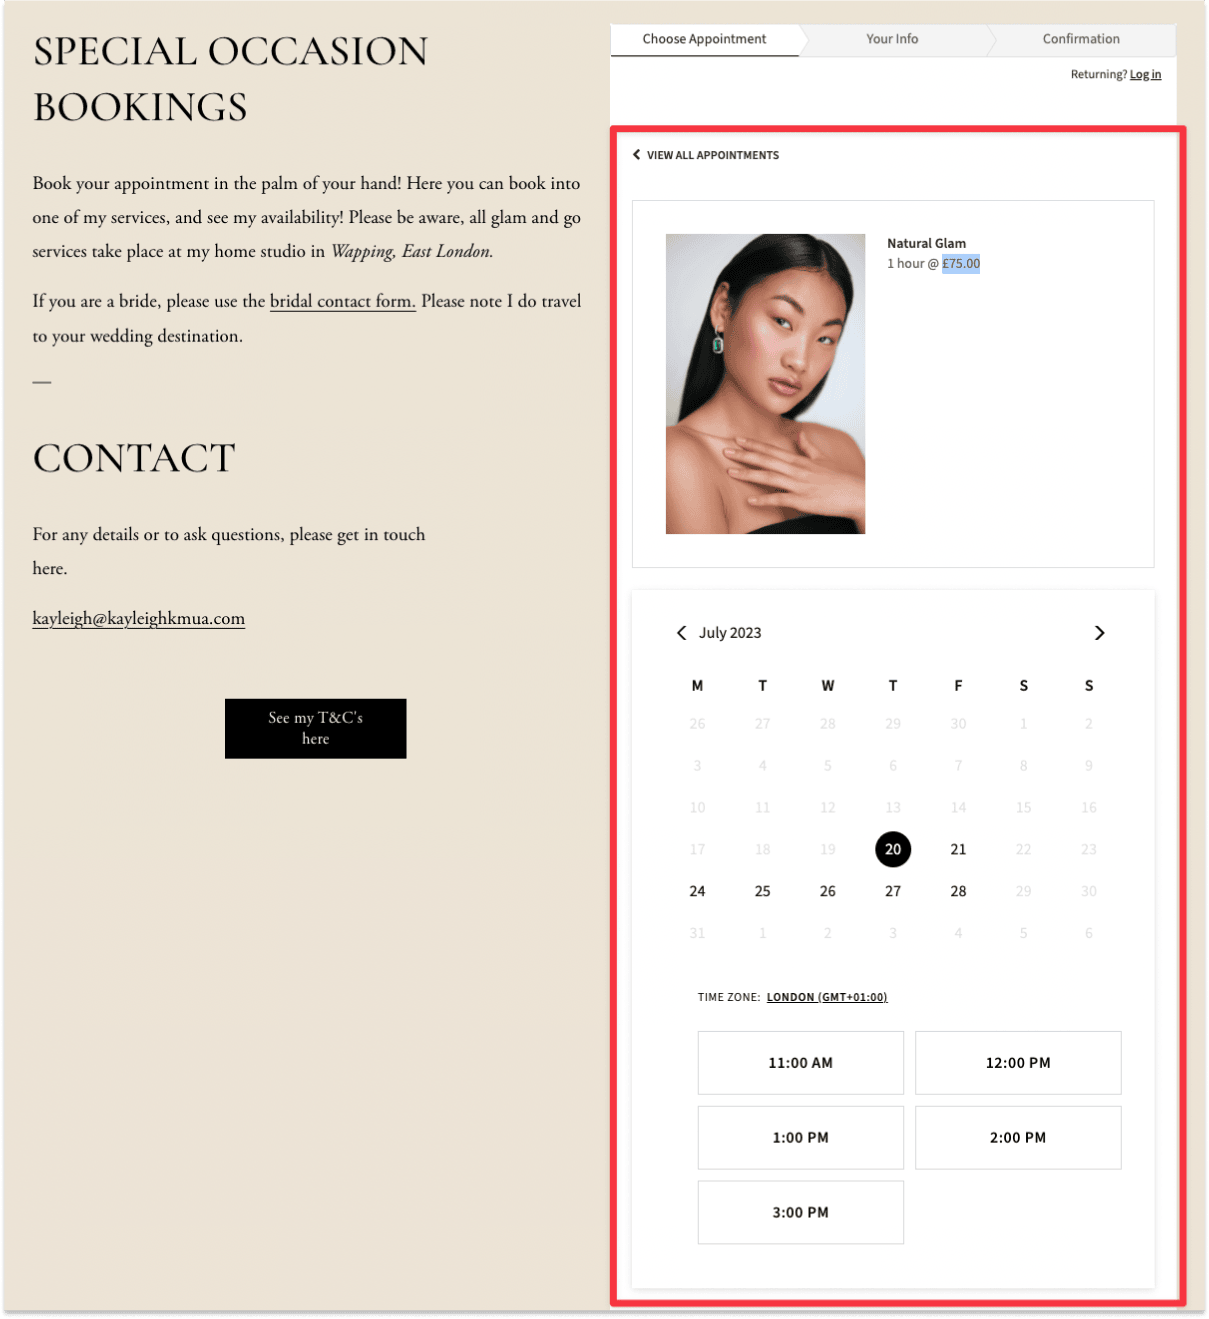
- Transfer Scheduling Data: If you used Squarespace’s scheduling feature, ensure you export appointment data and customer schedules.
- Configure Scheduling in HighLevel: Use HighLevel’s calendar integration to set up appointment types and booking pages. Automate follow-up communications and reminders using HighLevel’s workflows.
Testing and Validation
Step 1: Validate Website Functionality
- Test Website Pages: Navigate through your new HighLevel site, checking each page for accurate content placement, functioning links, and responsive design.
- Check SEO Settings: Use tools like Google Search Console to ensure your new site is indexed properly and that all SEO metadata has transferred correctly.
Step 2: Validate E-commerce and Payment Processing
- Test Product Listings and Purchases: Make test purchases to ensure products are displayed correctly and checkout processes are functioning without issues.
- Verify Payment Gateways: Confirm that payment processors are correctly configured and test transactions go through successfully.
Step 3: Test Email Campaigns and Automations
- Send Test Emails: Run test campaigns to ensure emails are delivered as expected, with correct formatting and content.
- Check Automation Triggers: Validate that automated workflows, such as welcome emails and cart abandonment reminders, function as intended.

Team Training and Transition
Step 1: Train Your Team
- HighLevel Training Sessions: Conduct training for your team members on HighLevel’s interface, focusing on areas like website management, email campaigns, and CRM functionality.
- Distribute Documentation: Provide user guides and SOPs tailored to your business processes in HighLevel.
Step 2: Monitor and Optimize
- Ongoing Monitoring: Regularly review the new system’s performance, especially during the initial weeks post-migration, to catch any issues early.
- Optimize Workflows: Based on feedback and operational needs, make adjustments to workflows and website settings.
Decommissioning Squarespace
Step 1: Transition Period
- Run Parallel Systems: Consider keeping both Squarespace and HighLevel active for a brief period to ensure all data has transferred correctly and users are comfortable with the new platform.
- Gradual Phase-Out: Gradually reduce reliance on Squarespace, ensuring all users and customers are transitioned smoothly to HighLevel.
Step 2: Final Backup and Cancellation
- Final Backup: Ensure all necessary data has been backed up and is securely stored before canceling your Squarespace account.
- Cancel Squarespace Subscription: Follow Squarespace’s procedures for account cancellation and termination of services.
Step 3: Post-Migration Review
- Conduct a Review: Assess the success of the migration, documenting any challenges and how they were resolved for future reference.
- Continuous Monitoring: Keep monitoring the HighLevel platform, making necessary tweaks and improvements.
Was this article helpful?
That’s Great!
Thank you for your feedback
Sorry! We couldn't be helpful
Thank you for your feedback
Feedback sent
We appreciate your effort and will try to fix the article
