In this Article:
Step 1: Identify Repetitive Tasks
- Start by identifying tasks or processes within your sales workflow that are repetitive and time-consuming. These could include tasks such as sending follow-up emails, assigning leads to team members, scheduling appointments, or updating opportunity statuses.

Step 2: Design Automated Workflows
Navigate to the "Automations" section in your GoHighLevel dashboard.
Click on "Workflows" to access the workflow builder.
Click on "Create New Workflow" to start building your automated workflow.
Give your workflow a descriptive name that reflects its purpose.

Step 3: Choose a trigger event.
This could be an action taken by a lead, such as filling out a form, clicking on a link, or reaching a certain stage in the sales pipeline.
Opportunity triggers
1. Opportunity status changed : Trigger a workflow on the basis of updating an opportunity's status. Opportunities can be filtered on the basis of any of the standard or custom fields linked to that opportunity. 
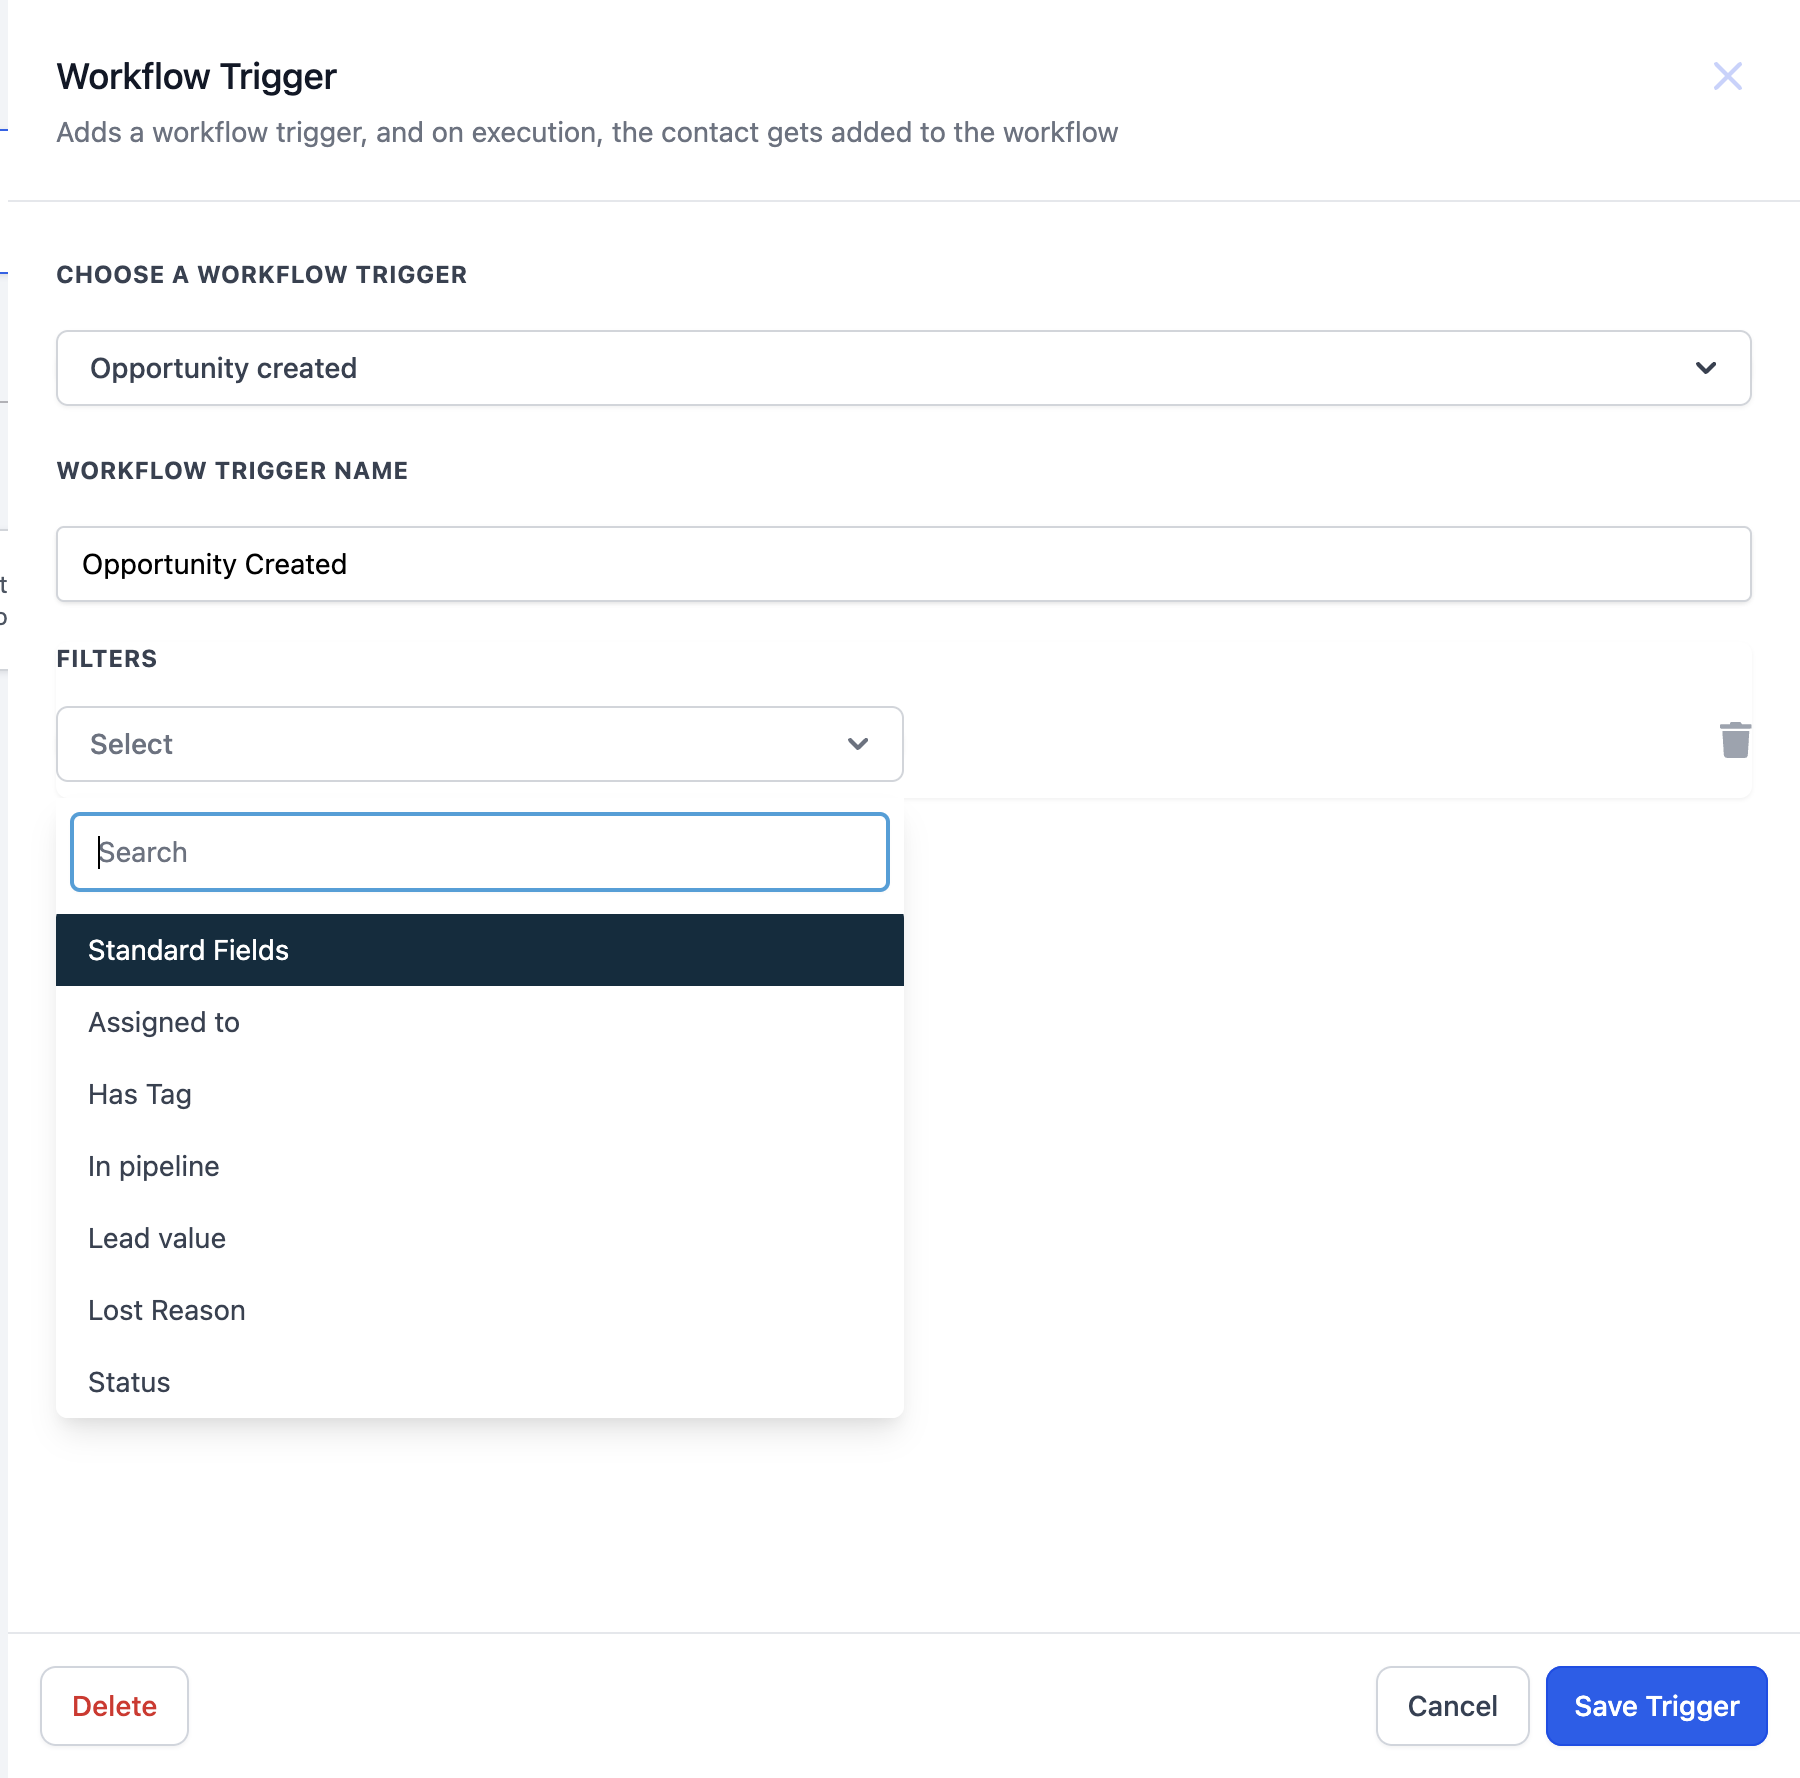
2. Opportunity Created: Triggering workflows on the basis of creation of an opportunity. This trigger can be filtered on the basis of any standard or custom field linked to the opportunity being created.

3. Opportunity Status Changed: Filters opportunities where there has been a change in status

4. Stale Opportunities: Filter opportunities where there has been no change for <X> days and these opportunities can also be filtered basis different standard and custom fields.

5. Pipeline Stage Changed: Workflows can be triggered when a pipeline stage is changed and these can also be filtered based on multiple opportunity standard and custom fields.

Step 4: Add Workflow Actions
Add actions to the workflow that will be performed automatically when the trigger event and conditions are met. These actions could include finding an opportunity linked to a contact, creating a new opportunity, updating opportunities and so many more.
Find the complete list of actions and how they work here
1. Create Opportunity: Allows you to create opportunities with the mentioned values for the opportunity that gets triggered.
You can update multiple fields like: Pipeline, Pipeline Stage, Opportunity Name, Opportunity Source, and also Opportunity Status along with Lost reason, and many more.

2. Remove Opportunities: Allows you to remove the filtered out opportunity from a certain pipeline.

3. IF/ELSE: You can also fork the workflow basis a certain condition. Please note you can only use opportunity fields in the filter if you have an opportunity-based trigger in the workflow. All standard and custom fields can be used to filter the branch in this stage.
Step 5: Test and Refine
- Once you've created your automated workflow, test it to ensure that it functions as intended.
- Trigger the workflow using test leads or dummy data, and verify that each action is performed correctly.
- Monitor the workflow's performance and gather feedback from team members to identify any areas for improvement.
- Make any necessary adjustments or refinements to the workflow based on testing and feedback.
Step 6: Activate the Workflow
- Once you're satisfied with the performance of your automated workflow, activate it to start automating your sales processes.
- GoHighLevel will automatically trigger the workflow whenever the specified conditions are met, ensuring that repetitive tasks are handled efficiently and consistently.
Other Important Links
Was this article helpful?
That’s Great!
Thank you for your feedback
Sorry! We couldn't be helpful
Thank you for your feedback
Feedback sent
We appreciate your effort and will try to fix the article