Email signatures in HighLevel help your team keep outbound emails consistent and professional. Each staff user can have their own signature. This makes it easy to maintain branding and contact details across both one-to-one emails and automated sends.
TABLE OF CONTENTS
- What is an Email Signature
- Key Benefits of Email Signatures
- How To Setup and Edit Email Signatures
- How To Insert a User Signature Using Custom Values
- Frequently Asked Questions
- Related Articles
What is an Email Signature
Email Signatures allow you to create a saved signature for each staff user in a sub-account. A signature can include formatted text (such as a name, title, phone number, and links) and can be fully customized to match your branding.
Email signatures can be applied automatically in outbound emails (when enabled) and can also be inserted manually using a custom value in areas across the platform. Setting up signatures correctly helps ensure emails sent from HighLevel include the right sender details every time.
Key Benefits of Email Signatures
- Professional Branding: Keep every email consistent with your business identity, role details, and links.
- Per-User Personalization: Each staff member can use their own name, title, and contact info.
- Flexible Usage: Automatically apply a signature to outgoing emails or insert it where needed using a custom value.
- Cleaner Replies: Control whether the signature appears before quoted text when replying to email threads
How To Setup and Edit Email Signatures
Use the steps below to update a staff member’s signature.
Step 1: Navigate to My Staff
In your Sub-account, go to Settings and select My Staff.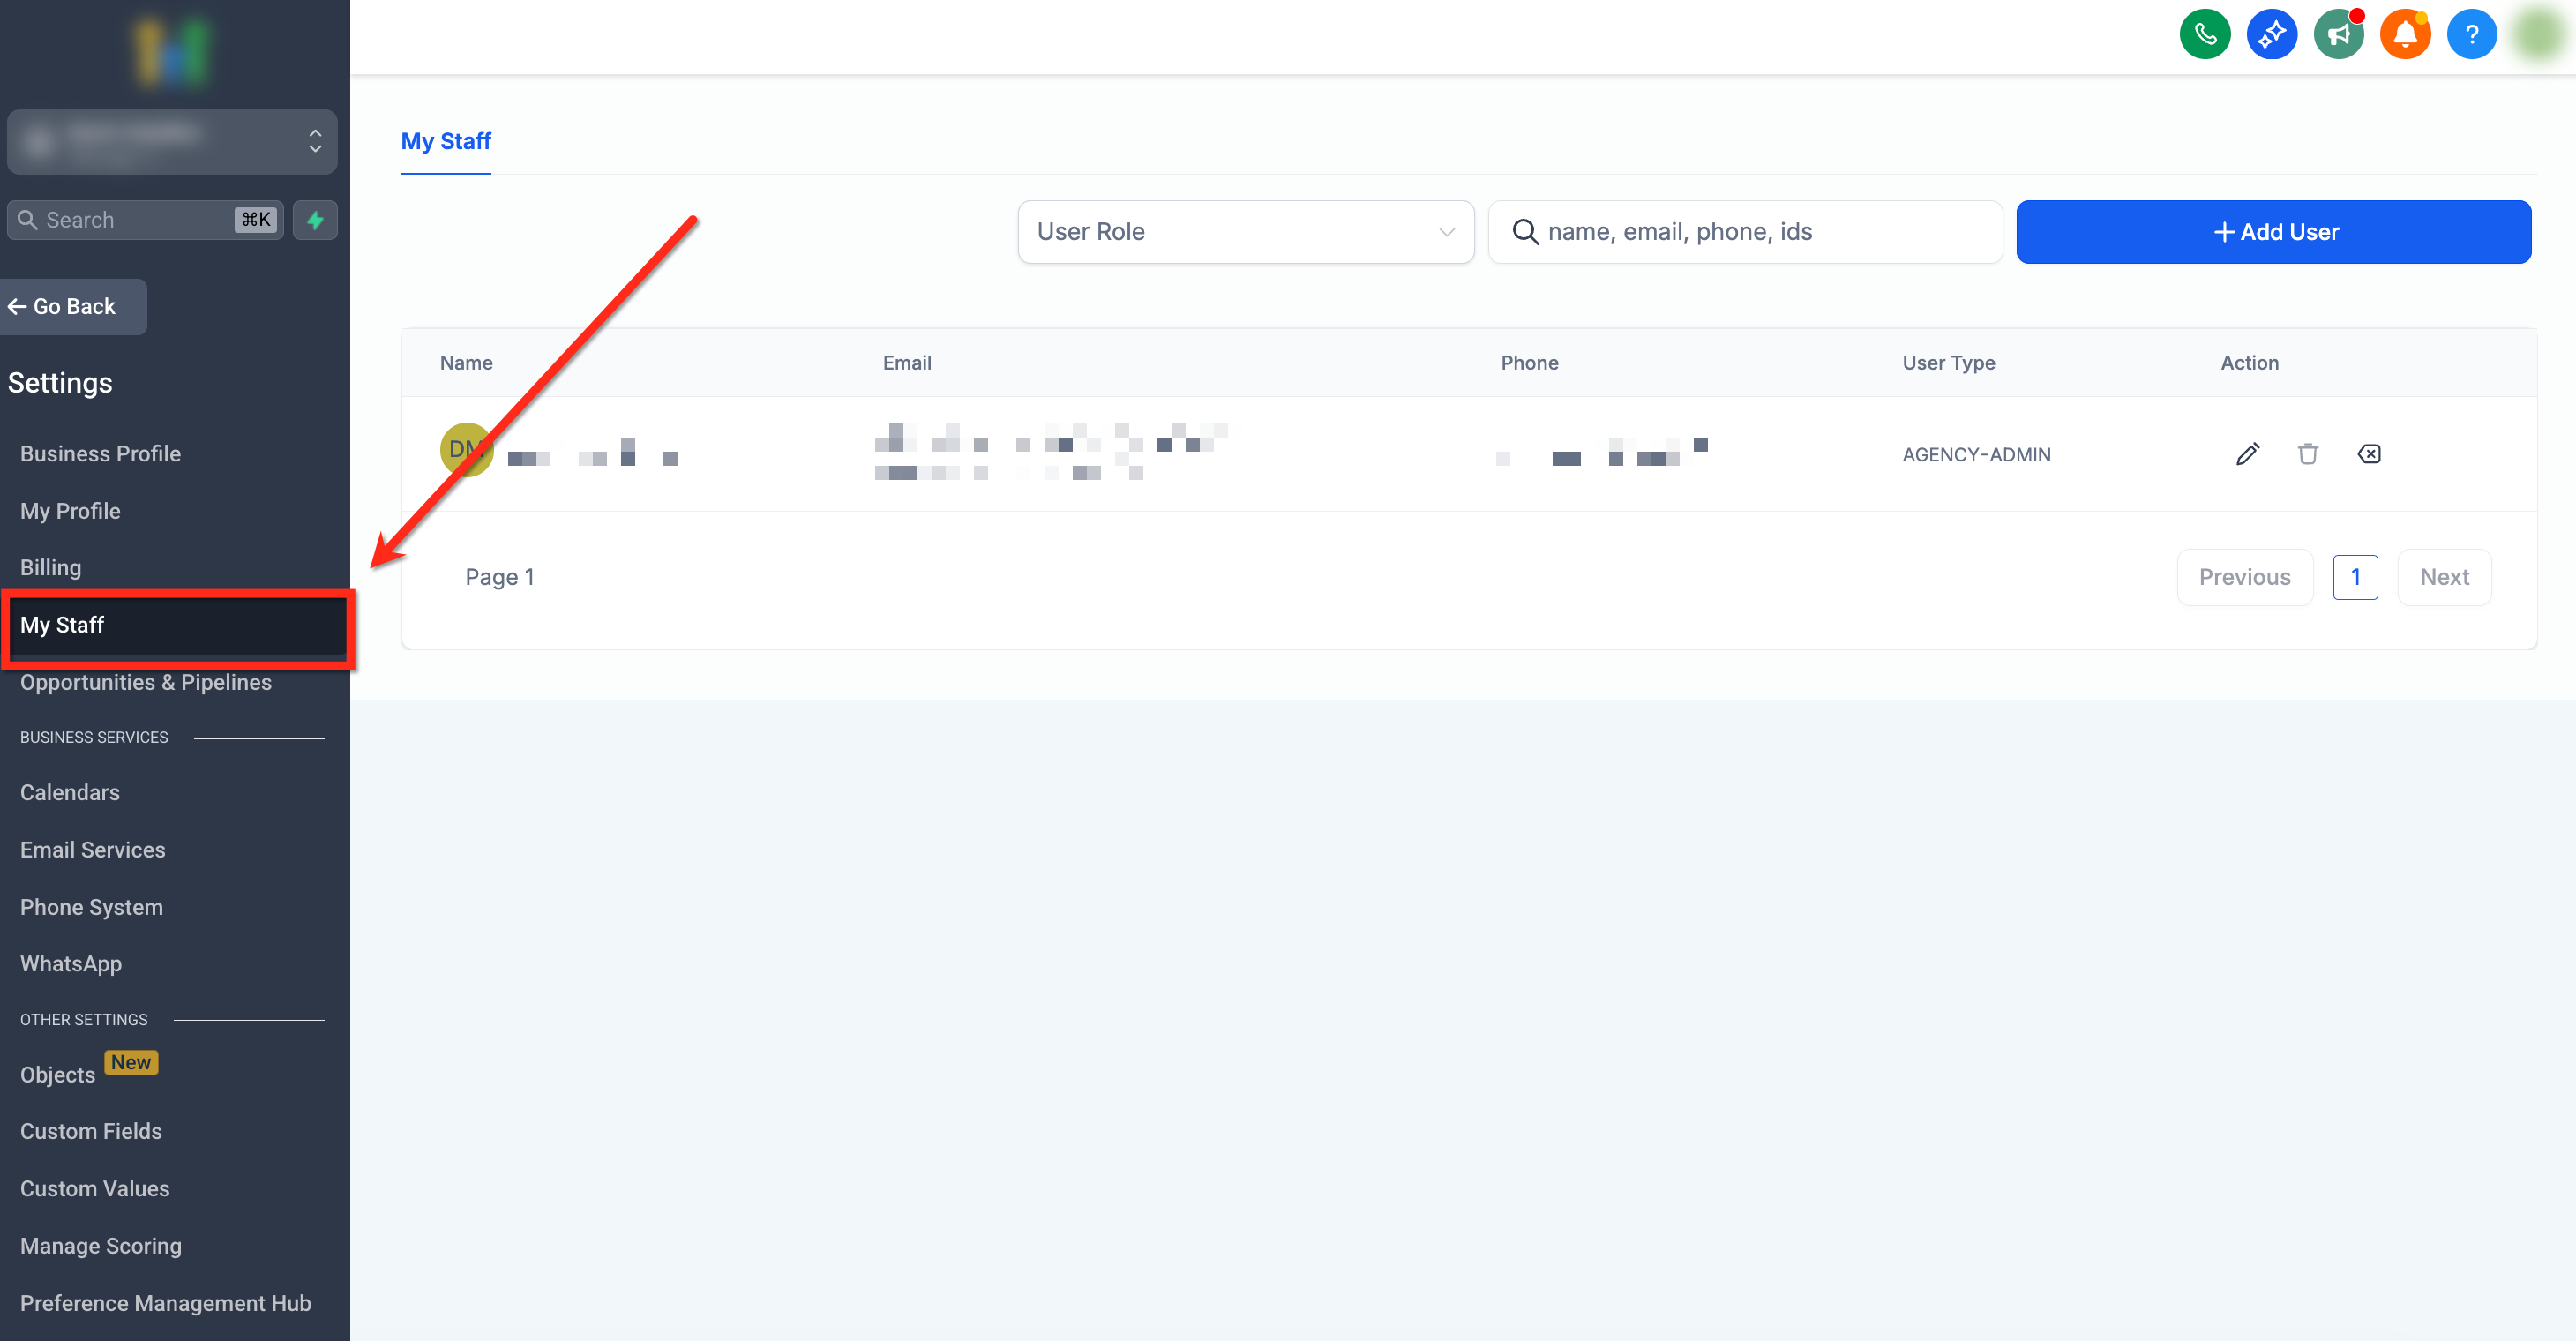
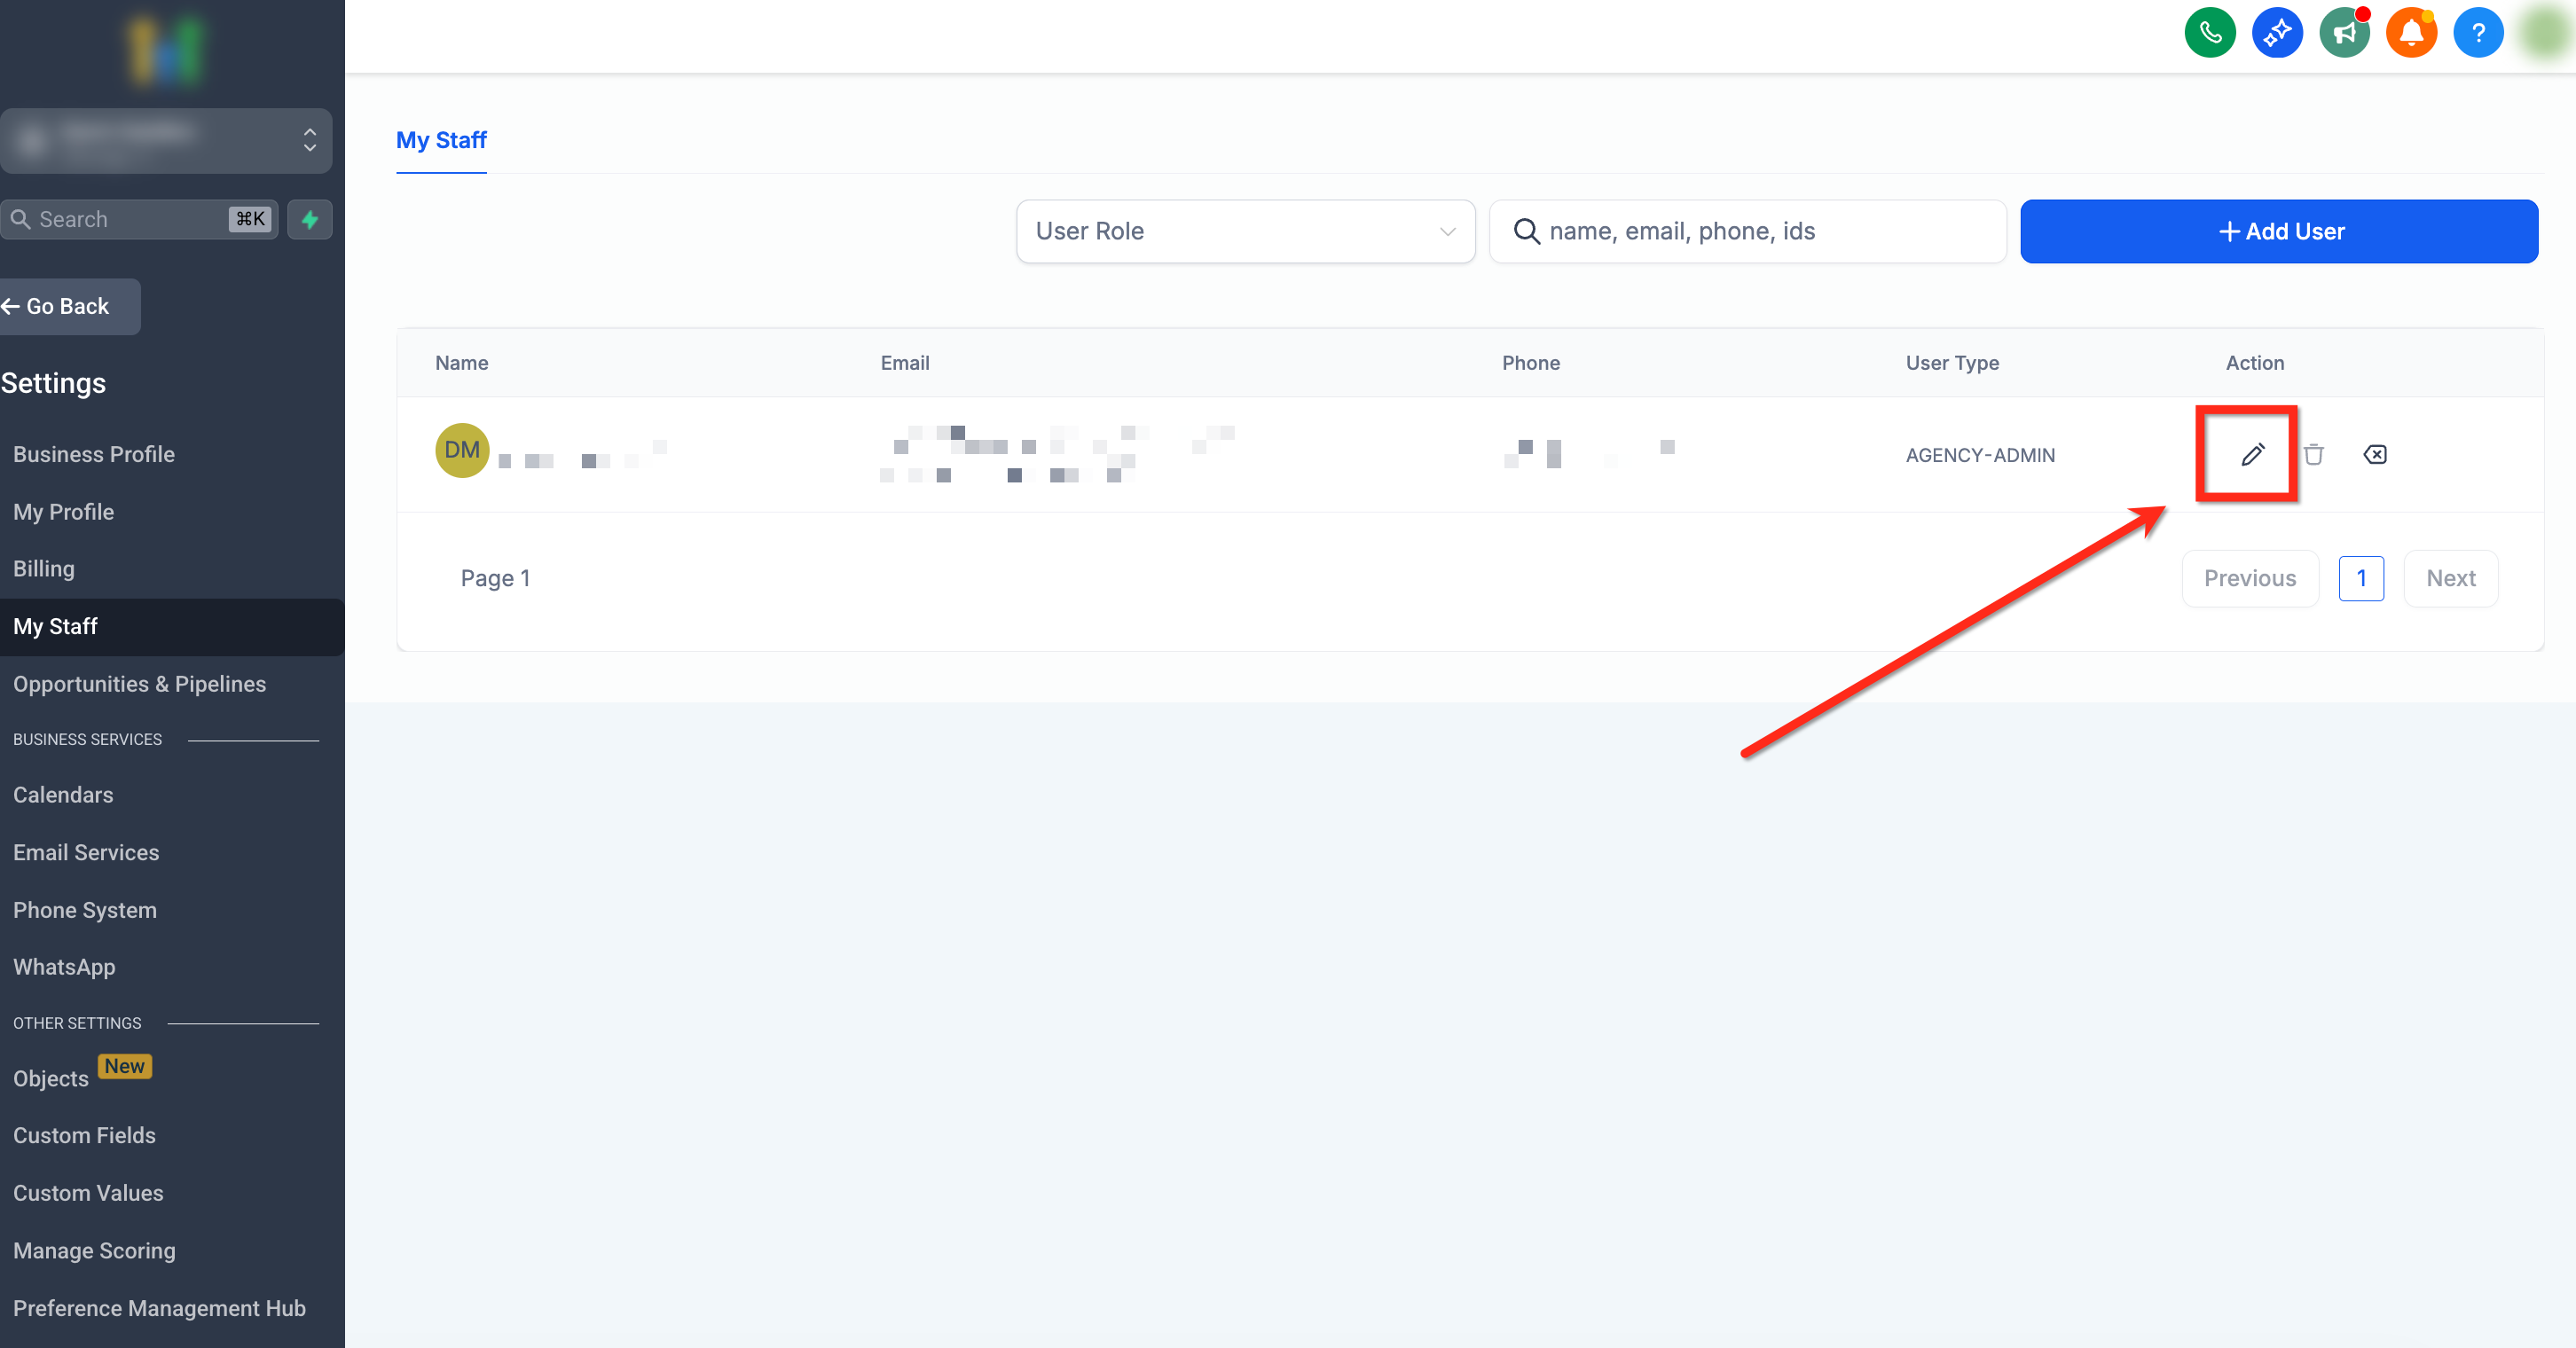
Step 2: Select Staff Member
Find the staff member you want to update. Click Edit (pencil icon).
Step 3: Update Signature
Scroll to the Signature section. Update the signature text and formatting in the editor. You can also insert the code here for more customization options.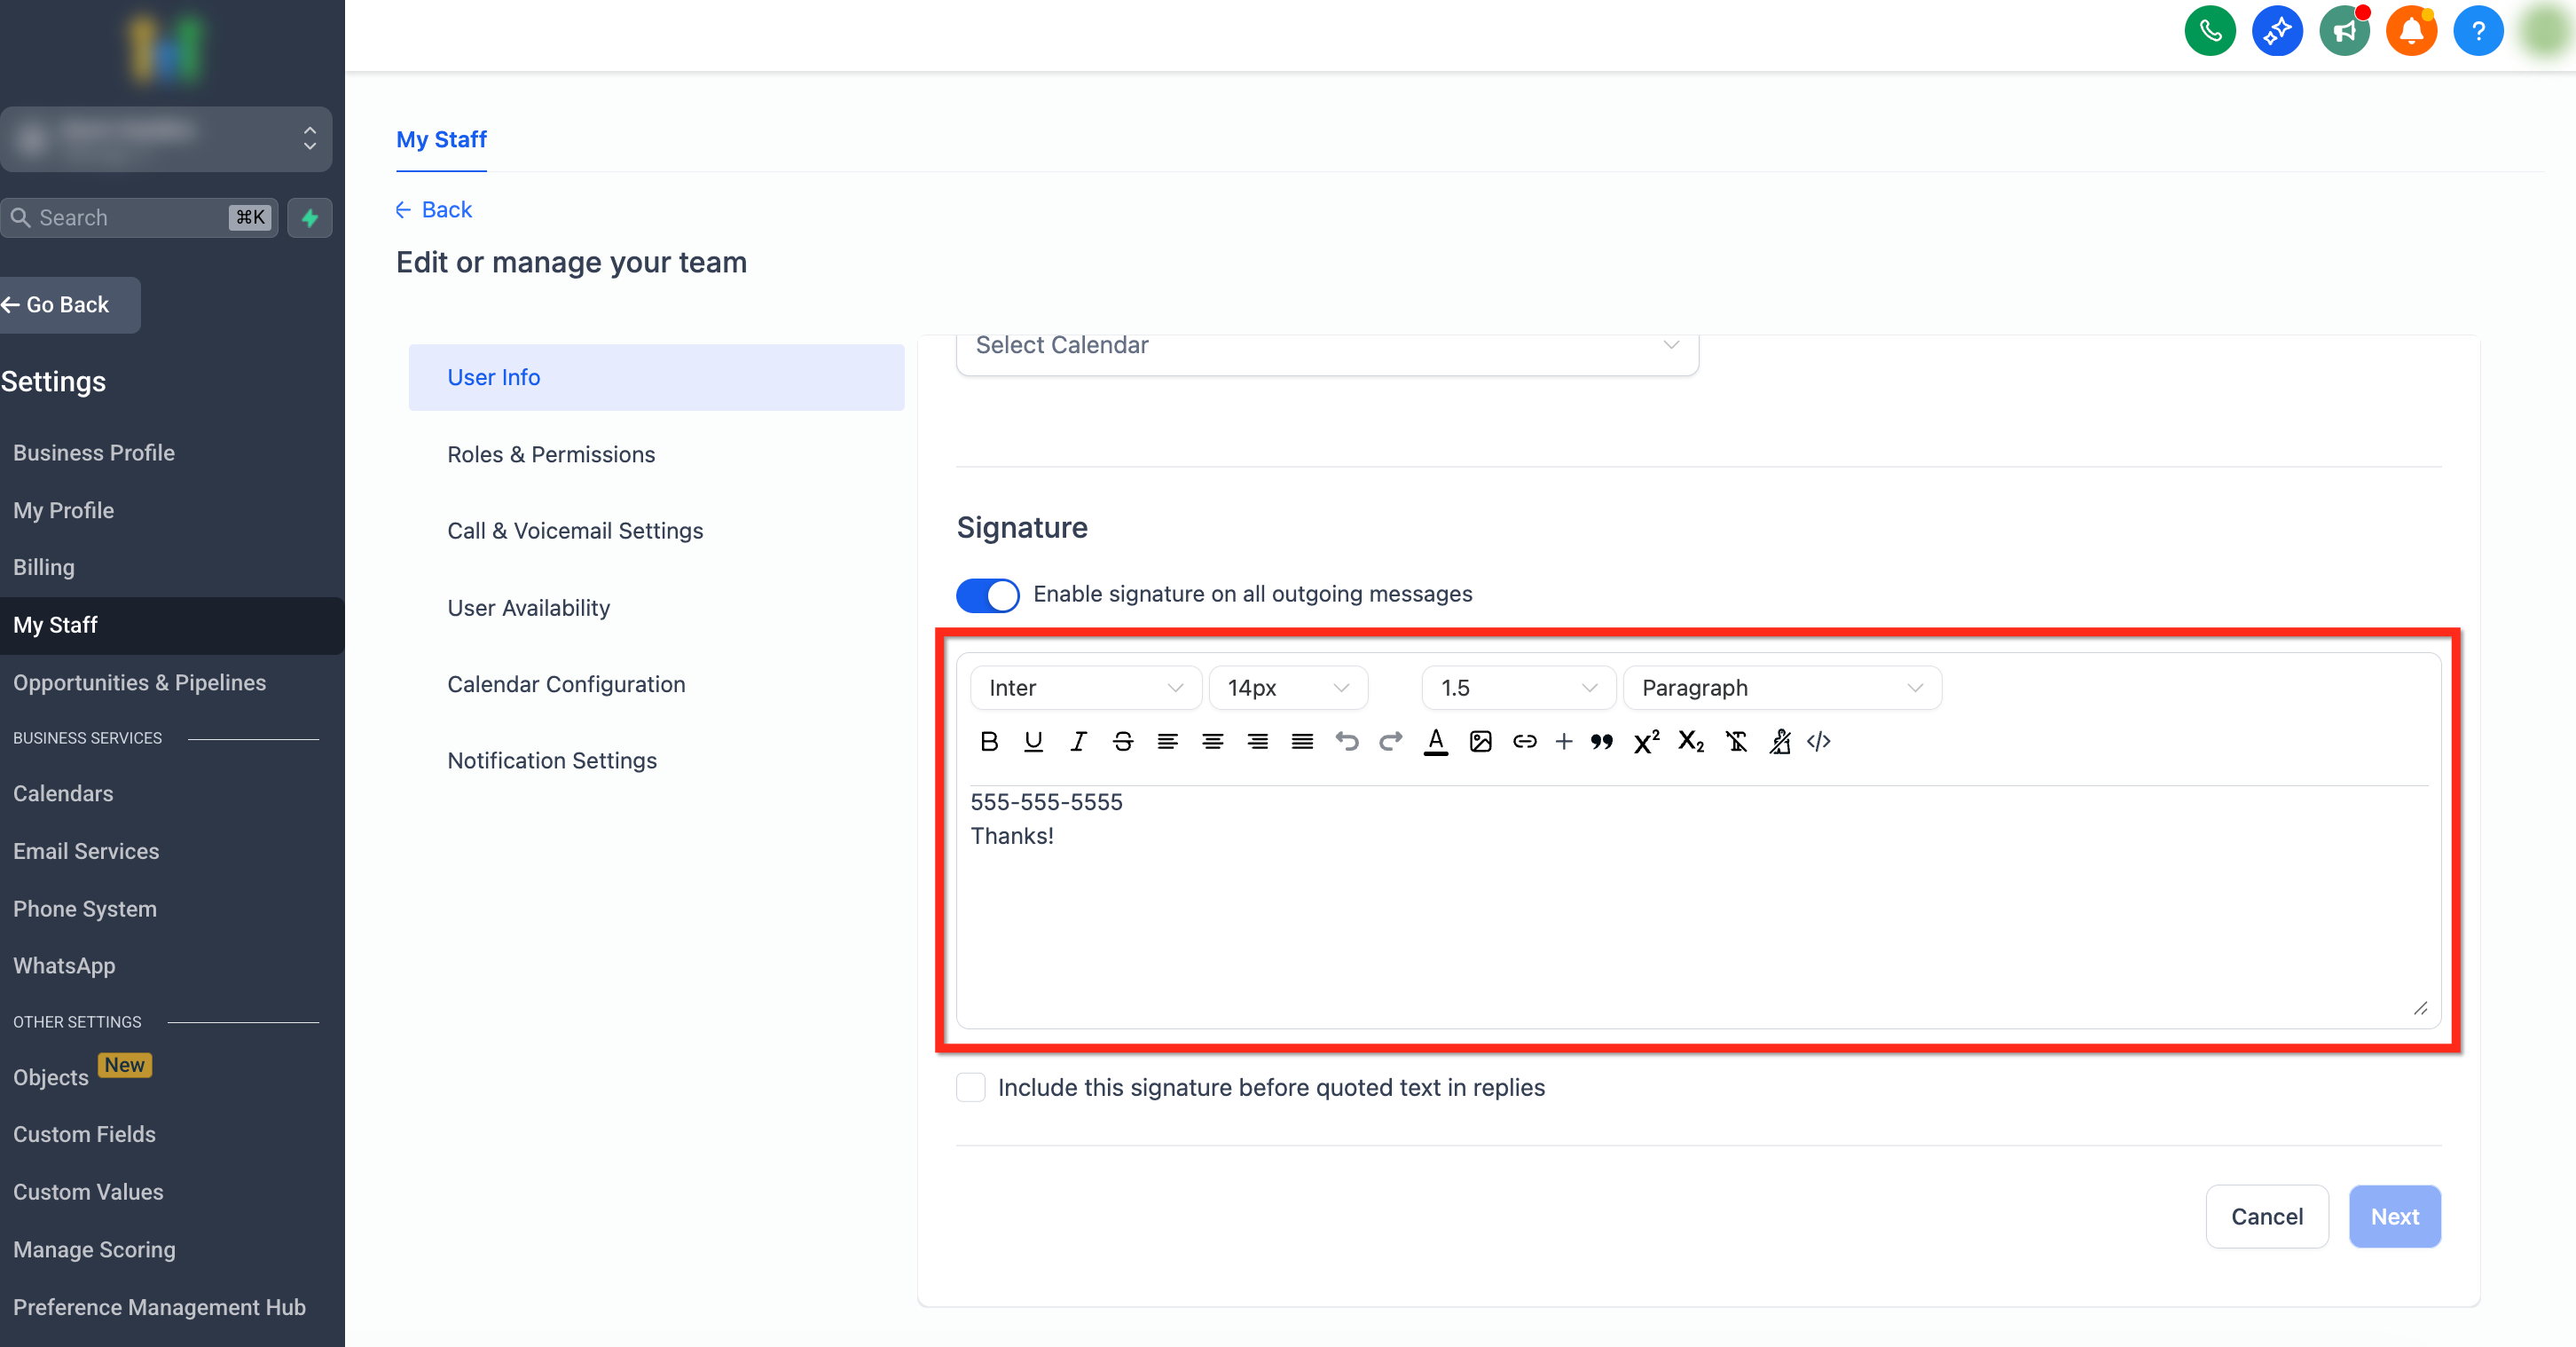
Step 4: Configure Optional Settings
- Turn on Enable Signature in All Outgoing Messages if you want the signature to automatically apply to outgoing emails.
- Check Include This Signature Before Quoted Text in Replies if you want the signature to appear above the quoted email thread in replies.

Step 5: Save Your Changes
Click the blue Next button then the blue Save button to apply your changes to the email signature.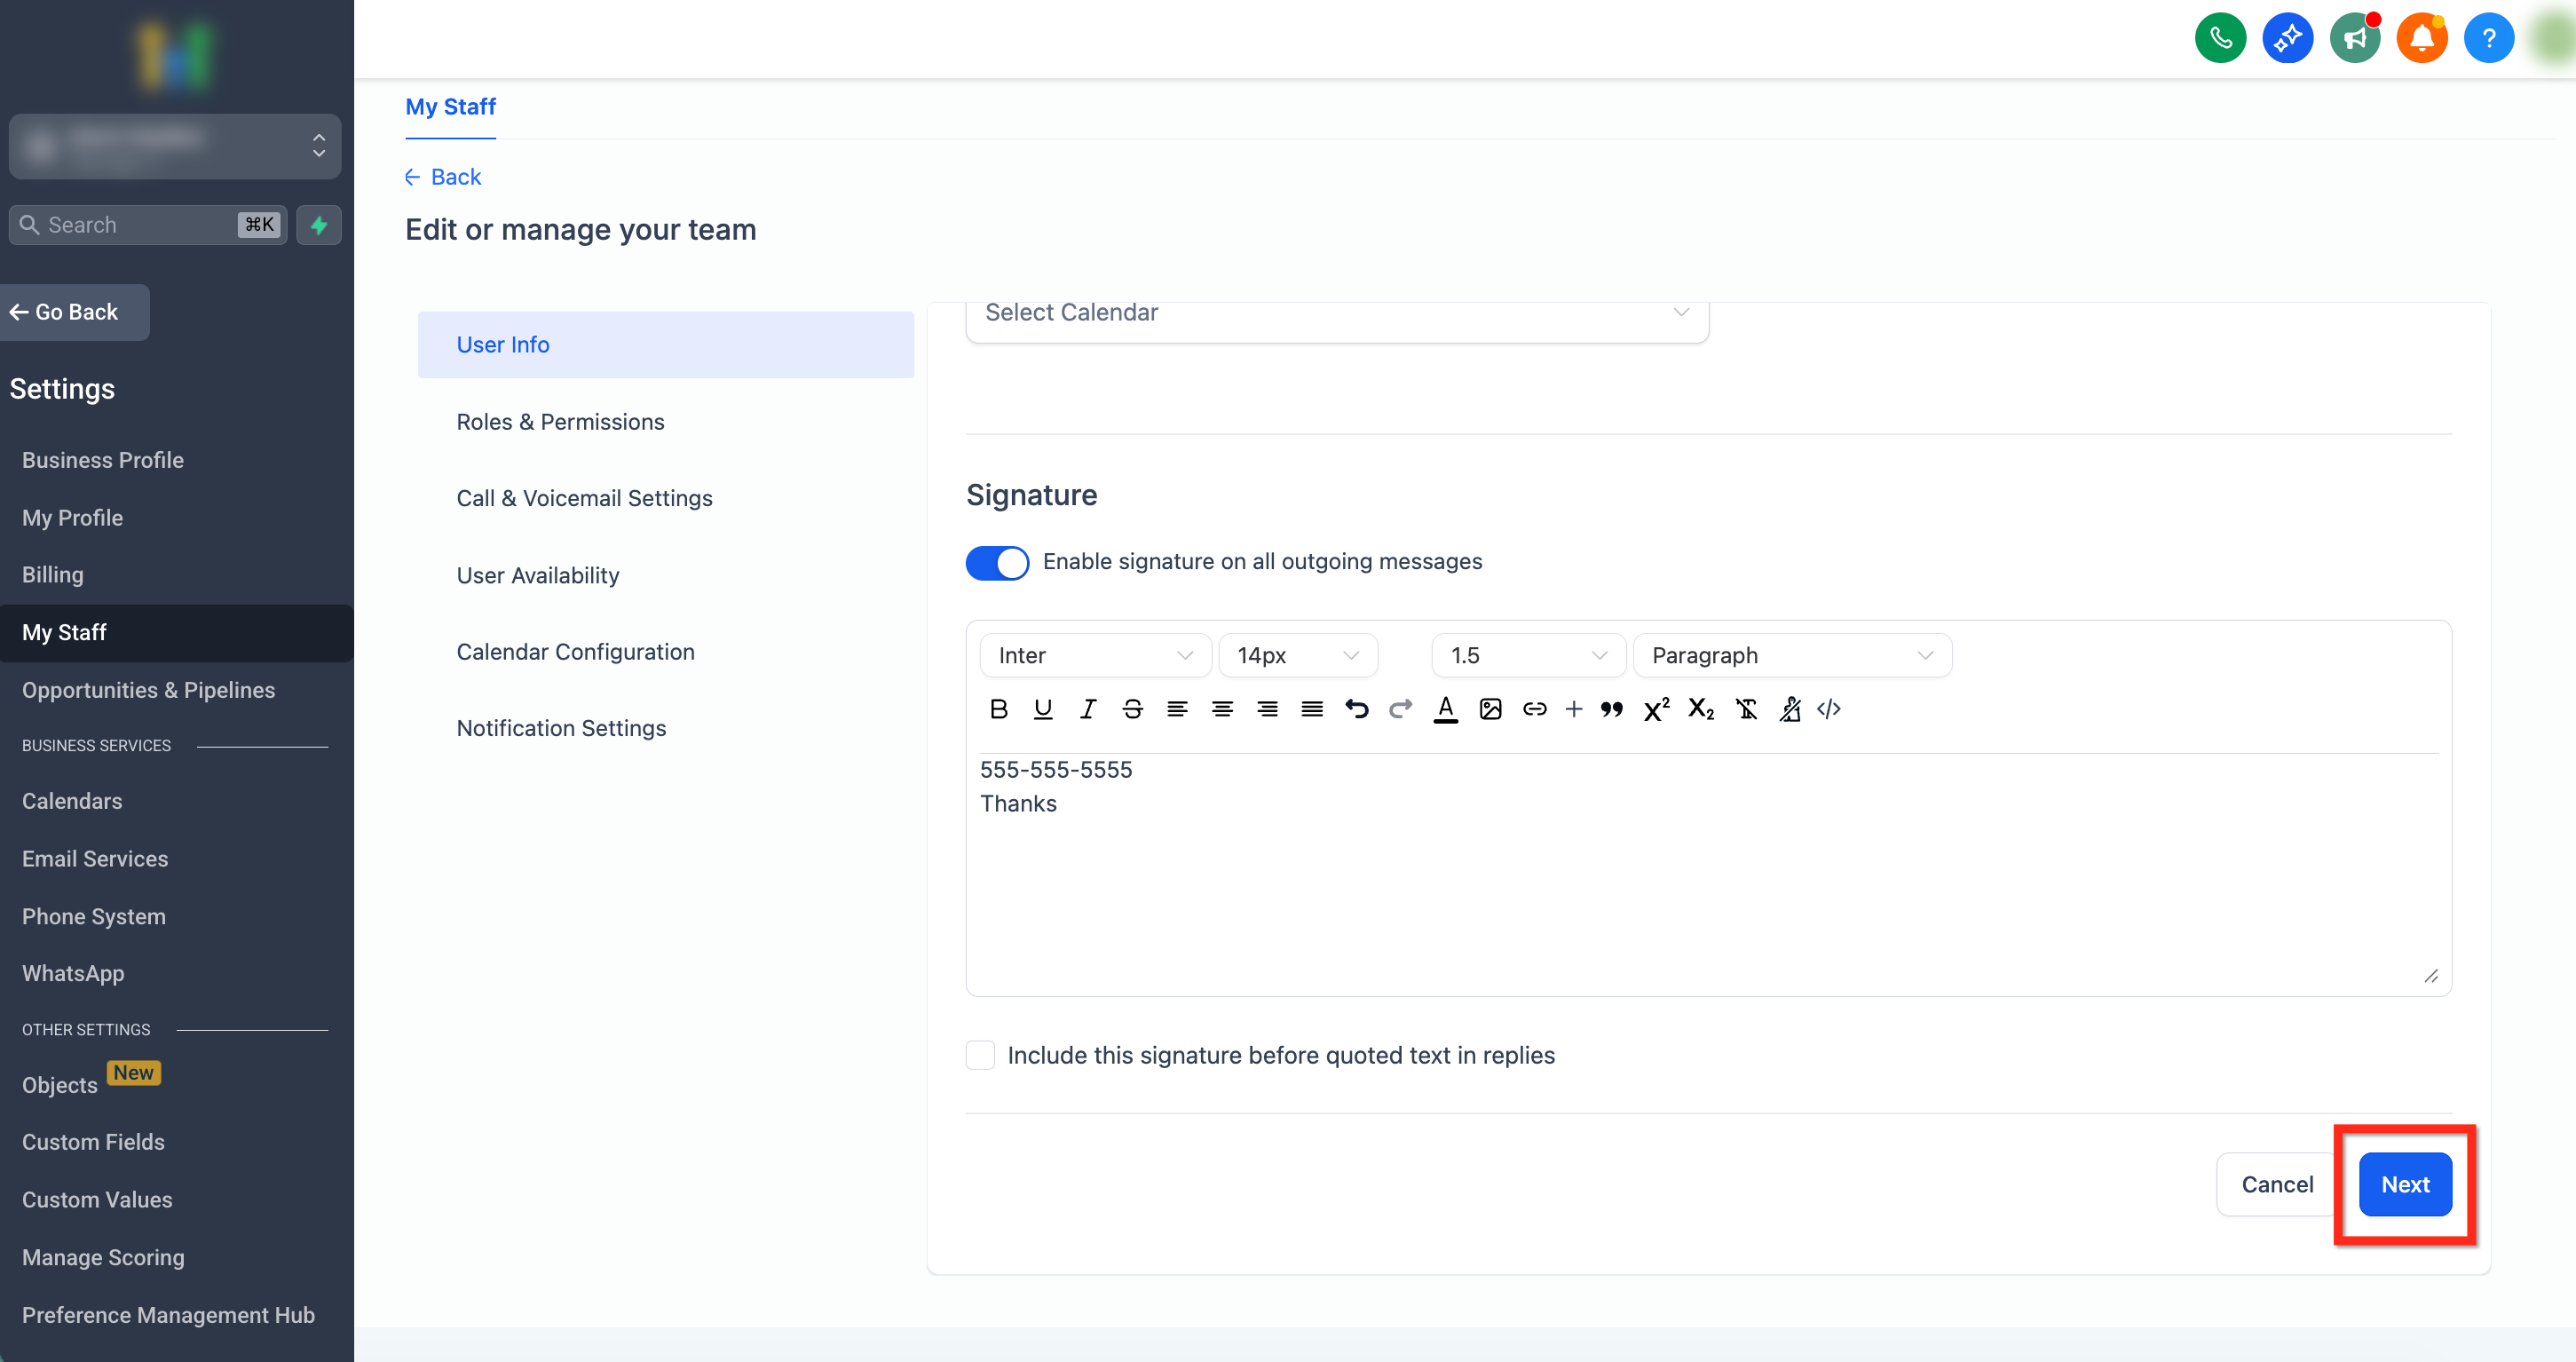
How To Insert a User Signature Using Custom Values
Placing the signature with a custom value gives you more control over where it appears in your email. This is helpful for templates (like campaign emails) and one-to-one emails where you want the signature to show in a specific spot.
Open the email editor where you want to add the signature (e.g. Campaigns or the Conversations email composer).
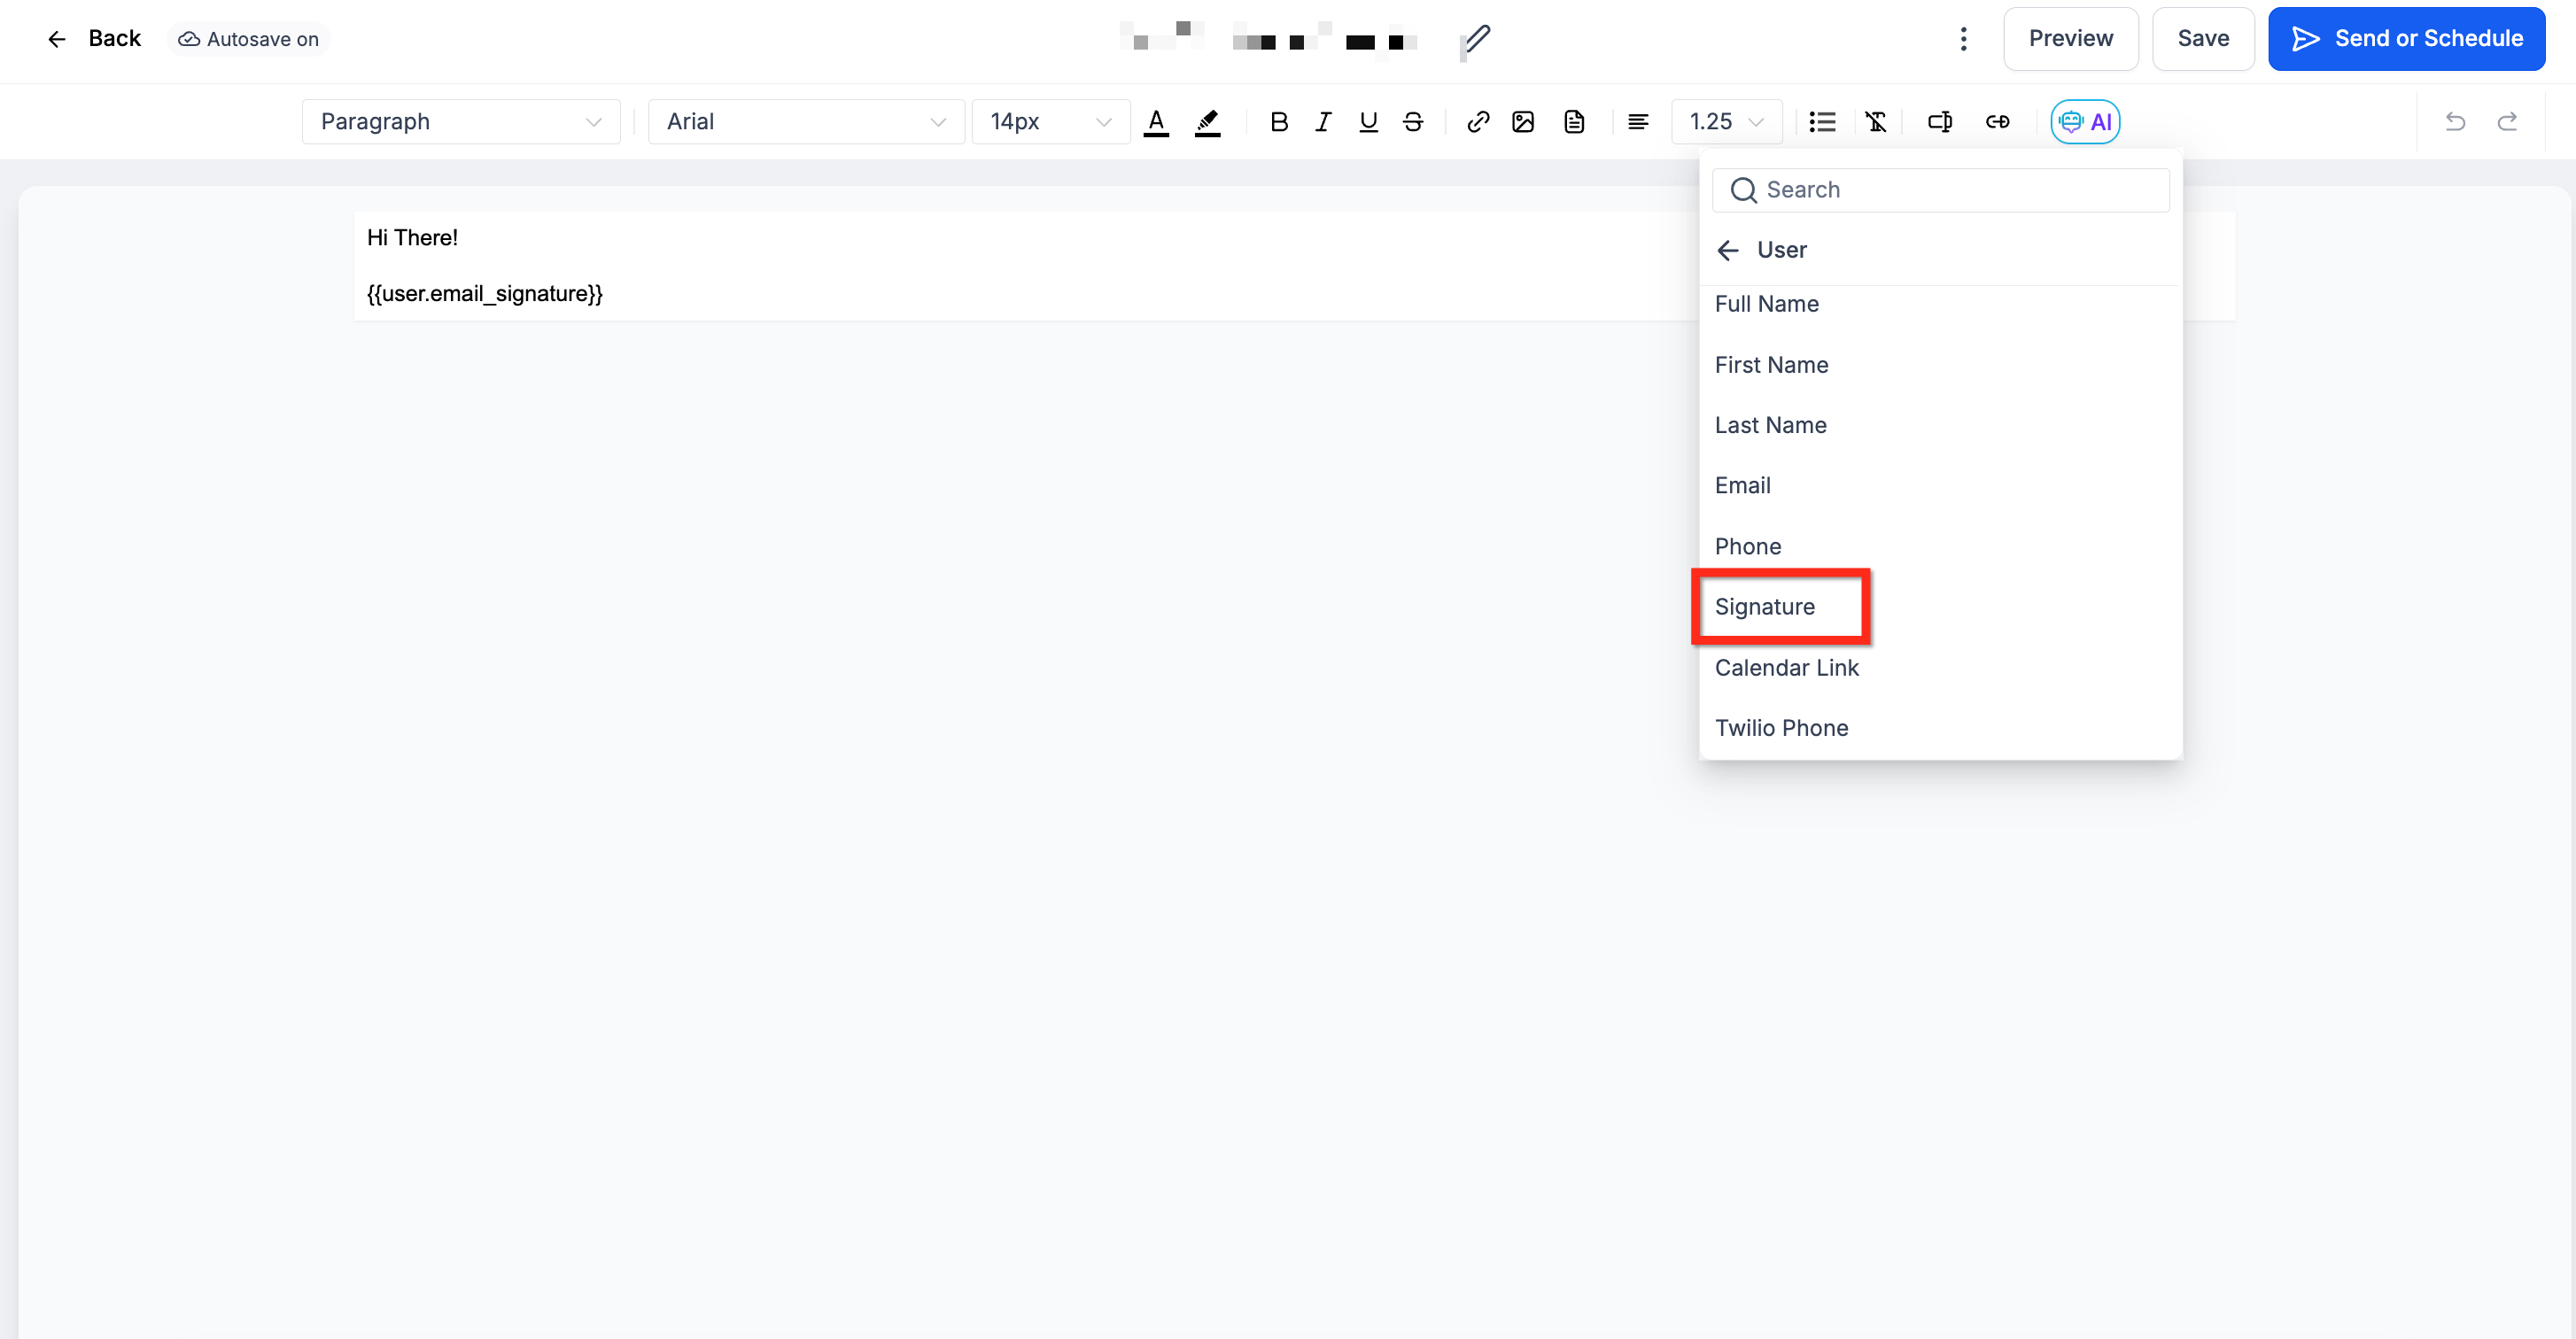
Click Custom Values.
Go to User, then select Signature.
The custom value used for the email signature is: {{user.email_signature}}
Frequently Asked Questions
Q: Is the email signature set per user or per sub-account?
Email signatures are saved per staff user within a sub-account. Each staff member can have a different signature.
Q: I updated the signature, but I don’t see it when sending emails. What should I check?
Confirm you updated the correct staff user, and verify whether Enable Signature in All Outgoing Messages is turned on.
Q: Can I format my signature (bold, links, etc.)?
Yes. The signature editor supports basic formatting so you can style text and include links.
Related Articles
Was this article helpful?
That’s Great!
Thank you for your feedback
Sorry! We couldn't be helpful
Thank you for your feedback
Feedback sent
We appreciate your effort and will try to fix the article